

When you want to install a car vinyl wrap, you may ask if you should do it yourself or get a pro. Picking the right heat gun is very important for your results. A good heat gun helps you work with the vinyl easily. This makes sure the wrap goes on smoothly. It is key for getting that perfect look on your car vinyl wrap. With the right heat, you can change your vehicle and keep its paint safe too!
Key Takeaways
- Pick the right tools for vinyl wrapping. A good heat gun, squeegee, and utility knife are needed for a smooth job.
- Get your car ready. Clean the surface well so the vinyl sticks and there are no air bubbles.
- Go slow during installation. Being patient helps you get a nice finish and avoid errors.
- Think about the costs of DIY and professional work. DIY can save money, but mistakes might cost more.
- Practice helps you get better. With time, your vinyl wrapping skills will improve, giving you better results.
Understanding Vinyl Wrap Installation
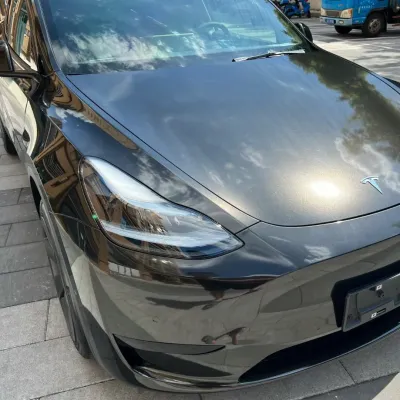
Putting a vinyl wrap on your car can be fun. It lets you change how your car looks while keeping the paint safe. But before you start, you need to know how to install it.
First, get your tools ready. You will need vinyl, a heat gun, a squeegee, and a utility knife. Each tool is important for a smooth finish. The heat gun is especially helpful. It warms the vinyl, making it easier to shape around curves.
Next, get your car ready. Clean the surface well to get rid of dirt and grease. A clean surface helps the vinyl stick better. Once everything is set, you can start putting on the vinyl.
Here’s a simple step-by-step guide to help you:
- Measure and Cut: Measure the area to wrap and cut the vinyl. Leave a little extra for fixing.
- Apply the Vinyl: Start at one end and lay the vinyl down slowly. Use the squeegee to push out air bubbles.
- Heat and Stretch: Use the heat gun to warm the vinyl. This is important for stretching it around curves. Be careful not to overheat, or it can ruin the vinyl.
- Trim Excess: After the vinyl is on, use your utility knife to cut off any extra material.
Remember, take your time. Patience is important for a great installation. With practice, you will get better at vinyl wrapping and love the amazing results!
DIY Options for Vinyl Wrap Installation
If you’re considering a DIY approach to vinyl wrap installation, you’re in for an exciting project! With the right tools and a bit of patience, you can transform your vehicle’s look without breaking the bank. Here’s what you need to know to get started.
Essential Tools for DIY Car Wrapping
Before diving into the installation, gather your essential tools. Here’s a quick list to help you prepare:
- Heat Gun: This tool is crucial for warming the vinyl, making it easier to stretch and conform to your car's curves. You’ll want to control the temperature carefully to avoid damaging the vinyl.
- Squeegee: Use this to smooth out the vinyl and eliminate air bubbles. A good squeegee helps you achieve a professional finish.
- Utility Knife: This is for trimming excess vinyl once you’ve applied it. A sharp blade ensures clean cuts.
- Measuring Tape: Accurate measurements are key to cutting the vinyl correctly.
Tip: Always practice using your heat gun on a scrap piece of vinyl before starting on your car. This helps you get a feel for the right temperature and technique.
The Installation Process
Now that you have your tools ready, let’s walk through the installation process. Here’s a step-by-step guide to help you along the way:
- Preparation: Clean your car thoroughly. Remove any dirt, grease, or wax. A clean surface ensures better adhesion for your car vinyl wrap.
- Measure and Cut: Measure the areas you want to wrap and cut the vinyl accordingly. Leave a little extra material for adjustments.
- Apply the Vinyl: Start at one end and lay the vinyl down slowly. Use your squeegee to push out air bubbles as you go.
- Heat and Stretch: Use your heat gun to warm the vinyl. This is especially important for curves and edges. Be careful not to overheat, as this can cause wrinkles or shrink the vinyl.
- Trim Excess: Once the vinyl is applied, use your utility knife to trim any excess material for a clean finish.
Cost Considerations
While DIY installations may seem cheaper at first glance, consider the long-term costs. If you make mistakes during installation, you might need to buy extra materials. Expert reviews suggest that DIY vinyl wrapping can lead to significant cost savings, but it requires a considerable investment of time and effort. The process may take two to three days, especially for beginners.
- DIY wraps focus on material costs rather than labor, making them cheaper initially.
- Successful installation demands practice and precision. Common issues include bubbles and uneven cuts.
- A DIY wrap kit for a sedan can range from $500 to $1,500, while professional installation can cost between $2,000 and $4,000.
Final Thoughts
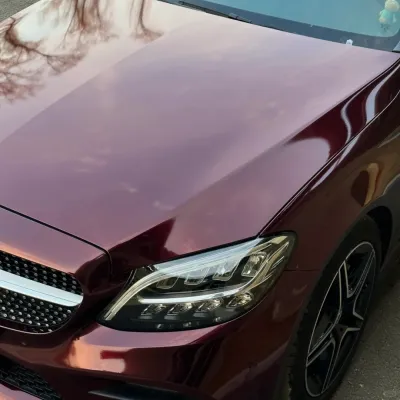
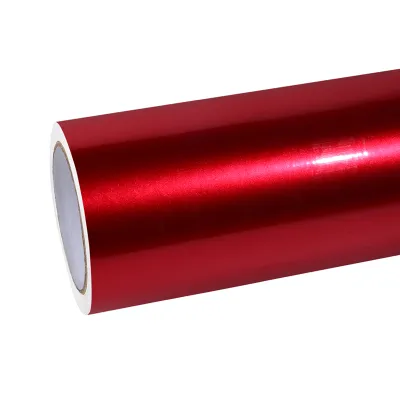
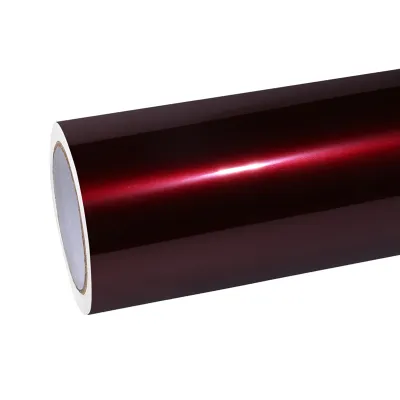
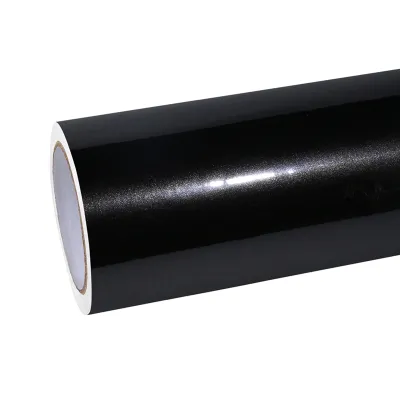
DIY car wrapping can be a rewarding experience. With the right preparation and tools, you can achieve stunning results. What's more, a good product of car wrap is also important, like Best Ravoony Gloss Metallic Vampire Red Car Vinyl Wrap, which is a good quality products and it's a metallic wrap Just remember to take your time and be patient. The more you practice, the better your skills will become. Plus, you’ll have the satisfaction of knowing you transformed your vehicle yourself!
Professional Tools for Vinyl Wrap Installation

If you choose to hire a pro for vinyl wrap installation, you are getting tools that really help your work. Professional tools make your job easier and give a professional finish that DIY methods might not reach. Let’s look at the important tools you should think about.
Essential Professional Tools
-
High-Quality Heat Gun: A good heat gun is very important for vinyl wrapping. It lets you control the temperature well, which helps stop wrinkles and bubbles. You can stretch the vinyl around curves and edges easily.
-
Vinyl Cutter: This tool makes clean and exact cuts. Unlike a utility knife, a vinyl cutter can do detailed designs and shapes, making sure your edges look sharp and professional.
-
Squeegee with Felt Edge: A squeegee helps you put the vinyl on smoothly. The felt edge stops scratches on the vinyl surface, so you can push out air bubbles without hurting the wrap.
-
Application Fluid: This fluid helps you place the vinyl before it sticks completely. It lets you make changes during installation, making it easier to get a perfect fit.
-
Heat Resistant Gloves: These gloves keep your hands safe when using a heat gun. They let you handle hot vinyl safely, lowering the chance of burns.
Benefits of Using Professional Tools
Using professional tools can lead to better results in many ways:
- Efficiency: Professional tools make the installation faster. High-quality equipment cuts down the time spent on each step.
- Durability: Buying high-quality vinyl and tools means your wrap will last longer. This can save you money later by needing fewer replacements.
- Skill Development: With the right tools, you can improve your skills better. You’ll learn to control heat and application techniques, leading to fewer mistakes.
Performance Evaluations
Studies show that using professional tools can really improve installation results. Here’s how to evaluate performance:
| Step | Description |
|---|---|
| 1 | Clean data by removing incomplete, duplicate, or invalid responses. |
| 2 | Thematic analysis for coding open-ended questions and sorting themes. |
| 3 | Calculate frequencies, percentages, means, and standard deviations using Excel and SPSS. |
| 4 | Test hypotheses using t-tests, ANOVA, and chi-square tests. |
| 5 | Show results through graphs, charts, and tables. |
Comparative Data
When comparing DIY and professional tools, think about these things:
- Type and Condition of the Wrap: Newer, high-quality vinyl wraps are easier to remove than older or complex wraps.
- Size and Shape of the Car: Smaller cars are easier for DIY removal, while larger, detailed cars may need professional help.
- Cost and Time: DIY is usually cheaper but takes more time. Professional removal is quicker but costs more.
Buying professional-grade equipment can cost between $10,000 to $15,000, but it builds a strong base for a car wrap business. Using premium vinyl, which costs about $5 to $8 per square foot, leads to longer-lasting installations and happier customers. A well-organized workspace helps achieve up to 70% of high-performance results in car wrapping businesses.
Heat Guns: Choosing the Right Heat Gun

When it comes to vinyl wrap installation, selecting the right heat gun is crucial. A good heat gun helps you control the temperature, which is essential for achieving a smooth finish. You want to avoid wrinkles and bubbles in your wrap, right? Here’s what to consider when choosing a heat gun.
Key Features to Look For
-
Adjustable Temperature: Look for a heat gun with adjustable temperature settings. This feature allows you to control the heat based on the vinyl applications you're working with. Different types of vinyl may require different heat levels.
-
Power: A heat gun with higher wattage heats up quickly. This means you can get to work faster. Most heat guns range from 1,000 to 2,000 watts. Choose one that fits your needs.
-
Nozzle Attachments: Some heat guns come with various nozzle attachments. These can help direct the heat more precisely, which is great for tight spots or intricate designs.
-
Lightweight Design: Since you’ll be using the heat gun for extended periods, a lightweight model will reduce fatigue. You want to stay comfortable while working on your installation.
-
Safety Features: Look for a heat gun with built-in safety features, like an automatic shut-off. This can prevent overheating and ensure safe operation.
Tips for Using Your Heat Gun
Tip: Always practice on a scrap piece of vinyl before starting your project. This helps you get a feel for the heat and prevents mistakes on your actual wrap.
Using a heat gun or torch effectively can make a huge difference in your installation. Remember to keep the heat gun moving to avoid overheating any one area. This helps prevent the vinyl from shrinking or becoming damaged.
Cost Analysis of Vinyl Wrap Installation
When you think about putting a vinyl wrap on your car, cost matters a lot. You want to see if doing it yourself saves money or if hiring a pro is worth it. Let’s look at the costs for both choices.
DIY vs. Professional Installation Costs
If you choose to do the installation yourself, you can save on labor costs. But, you still need to think about the materials. Here’s a quick look at the average costs for different ways to install:
| Installation Method | Average Cost |
|---|---|
| Professional Installation | $3,000 |
| DIY Installation | Savings on labor |
| Graphic Advertisement Wrap | $2,500 |
| Color Changing Paint Wrap | $3,600 |
| Chrome Vehicle Wrap | $6,000 |
| Hood or Rooftop Wrap | $325 |
| Specialty Film Addition | +$900 |
| Chrome or Exotic Finish | +$3,200 |
As you can see, professional installation usually costs about $3,000. If you go DIY, you save on labor, but you still need to buy good vinyl and tools like a heat gun. A good heat gun helps you control the heat, which is very important for a nice finish.
Hidden Costs of DIY
While DIY car wrapping might seem cheaper, don’t forget about hidden costs. Mistakes during installation can waste materials, meaning you might need to buy more vinyl. Also, if you’re not careful, you could get bubbles or wrinkles that need fixing. This can take more time and money for your project.
User Experience in DIY Car Wrapping
Many people enjoy DIY car wrapping. It lets you make your vehicle unique while saving money. But it can be tricky too. Here’s what users say about their experiences.
Key Takeaways from DIY Enthusiasts
-
Preparation is Key: Users stress cleaning your car well and taking off accessories. This helps the vinyl stick better and keeps bubbles away.
-
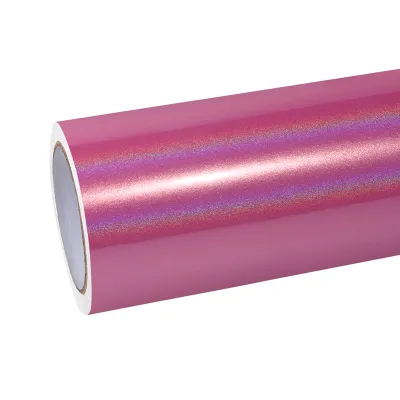
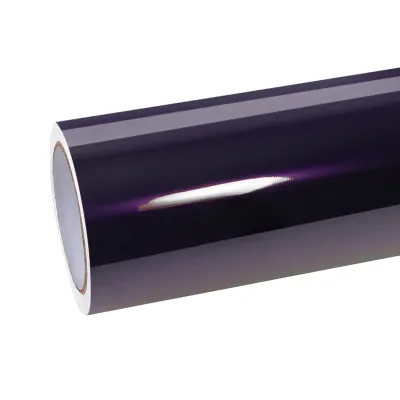
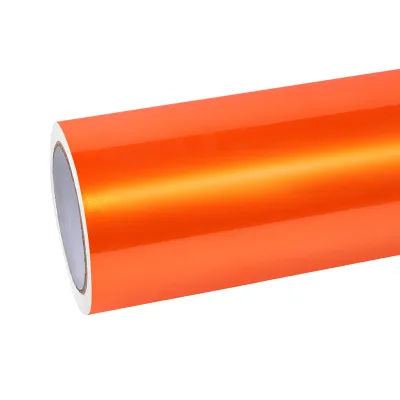
Material Quality Matters: Feedback shows that good vinyl wraps, like those from 3M, Avery Dennison, and Oracal, are liked more. They might cost more, but they last longer and look better.
-
Cost Considerations: Many customers say DIY can save money, but it has risks if you are not experienced. Mistakes can waste materials and add costs.
User Satisfaction Metrics
A recent survey showed some interesting facts about how happy users are with DIY car wrapping:
| Metric | Benchmark | Notes |
|---|---|---|
| Customer Satisfaction Rate | 85%-90% | Shows high-quality service and repeat business |
| Net Promoter Score | 50 or above | A strong sign of customer support and growth |
| Referral Frequency | 15%-20% increase annually | Measures customer loyalty and how it helps get new business |
These numbers show that most DIYers are pleased with their results. They like the process and often tell others about it.
Final Thoughts
If you want to try a DIY car vinyl wrap, remember that preparation is very important. Use a heat gun or torch to control the heat while putting on the vinyl. This helps stop bubbles and shrinkage. With practice, you can get a professional-looking finish that shows your style!
In summary, whether you choose DIY or professional tools for vinyl wrap installation depends on your skills and goals. If you’re confident and enjoy hands-on projects, DIY can be rewarding and cost-effective. Just remember to invest in a good heat gun and quality vinyl. On the other hand, if you want a flawless finish without the hassle, hiring a professional might be the way to go.
Consider your budget and how much time you can dedicate to the project. With the right approach, you can achieve stunning results that reflect your style!


0 Comments