


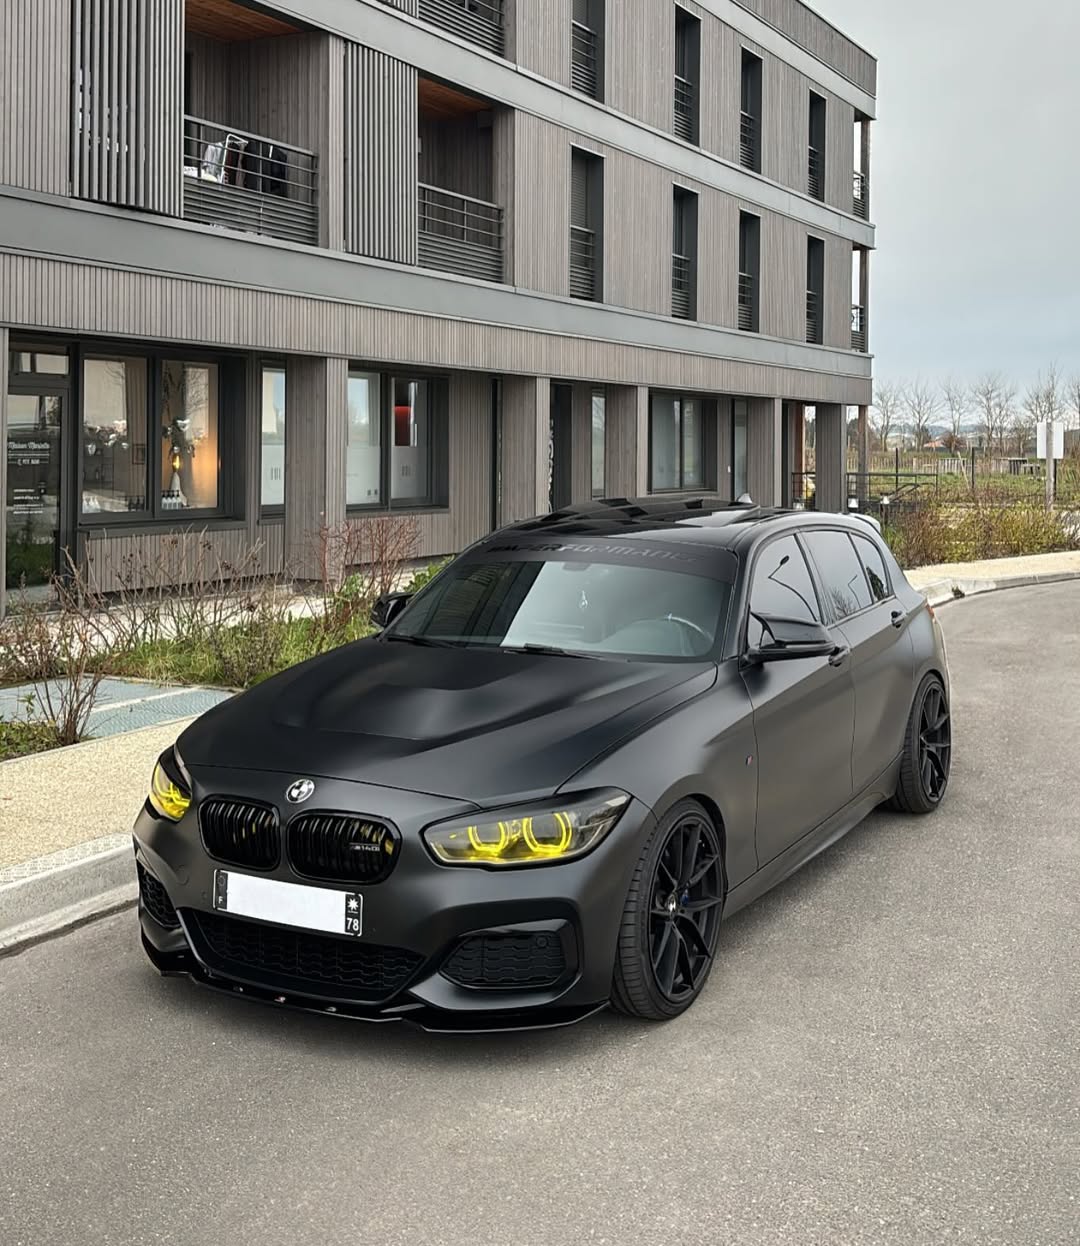
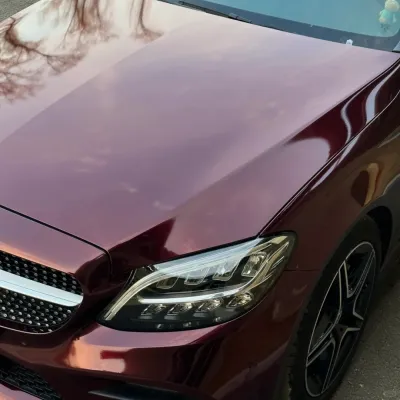
Transforming your car’s look doesn’t have to break the bank. Custom car wraps offer an affordable way to refresh your vehicle’s style. They typically cost $5-15 per square foot, much less than professional painting. Plus, wraps let you experiment with designs like matte or chrome finishes. You can even remove them without harming the original paint!
Key Takeaways
- Pick the right vinyl wrap by thinking about color, finish, strength, and cost. This helps your car look great and stay that way.
- Clean your car's surface well before putting on the wrap. A clean car is key for a smooth and neat finish.
- Use tools like a heat gun, squeegee, and sharp knife. These tools make wrapping easier and work better.
Planning and Preparation
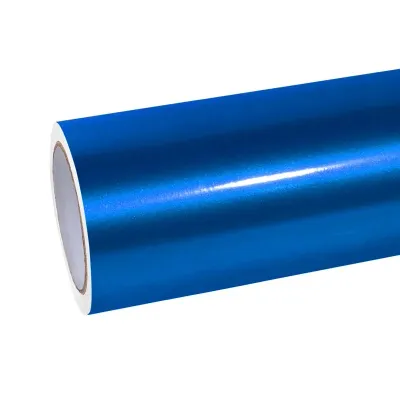
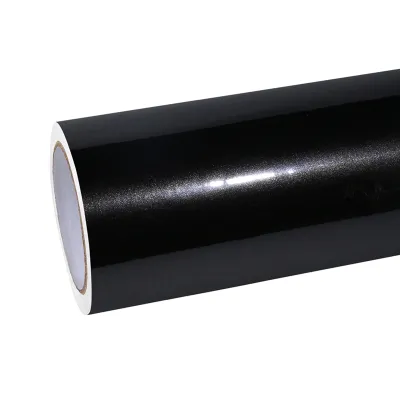
Choosing the Right Vinyl Wrap
Picking the perfect vinyl wrap is the first step to transforming your car. With so many options, it’s important to consider a few key factors:
- Decide on the Finish: Do you want a glossy, matte, satin, or textured look? Each finish gives your car a unique vibe.
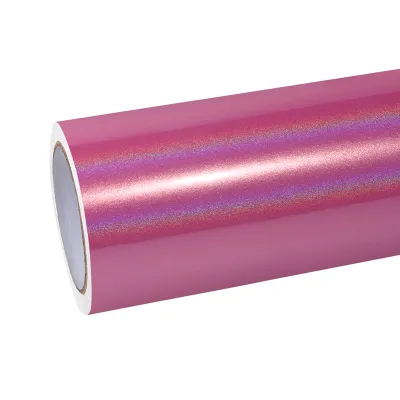
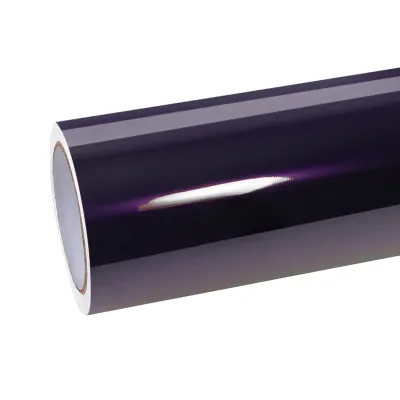
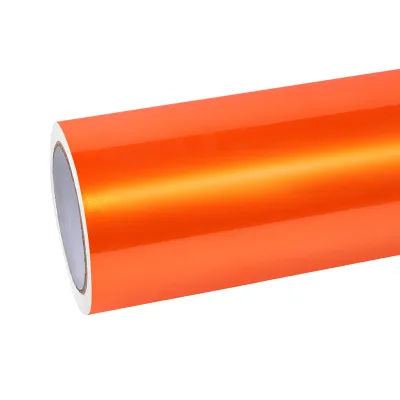
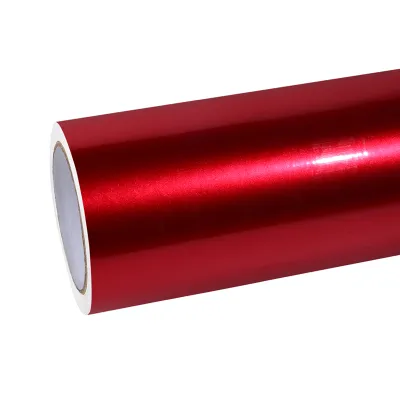
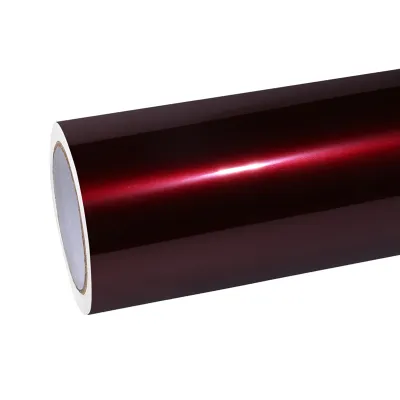
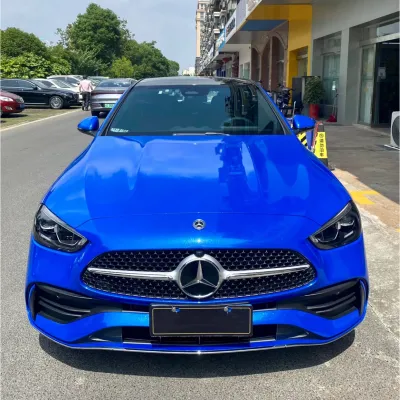
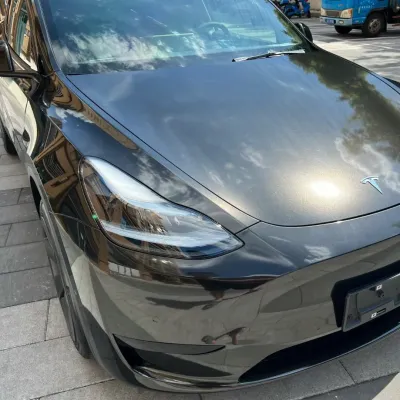
- Consider the Color: From pink car wrap to midnight purple wrap, the color you choose can make a big statement.
- Think About Durability: Make sure the vinyl can handle weather changes and daily wear.
- Ease of Application: If this is your first time, go for a vinyl wrap that’s beginner-friendly.
- Factor in Your Budget: Prices vary, so find a wrap that fits your wallet.
- Match the Wrap to Your Car’s Design: The wrap should complement your car’s shape and style.
Take your time with this step. The right vinyl will make all the difference in the final look.
Essential Tools for Custom Car Wraps
Having the right tools makes the process smoother and more enjoyable. Here’s what you’ll need:
- A heat gun to help stretch and set the vinyl.
- A squeegee to smooth out air bubbles.
- A sharp utility knife for precise cuts.
- Measuring tape to take measurements of your car’s panels.
- Microfiber towels to keep the surface clean.
- Masking tape to mark areas and hold the vinyl in place.
These tools are essential for achieving a professional finish. Don’t skip this step!
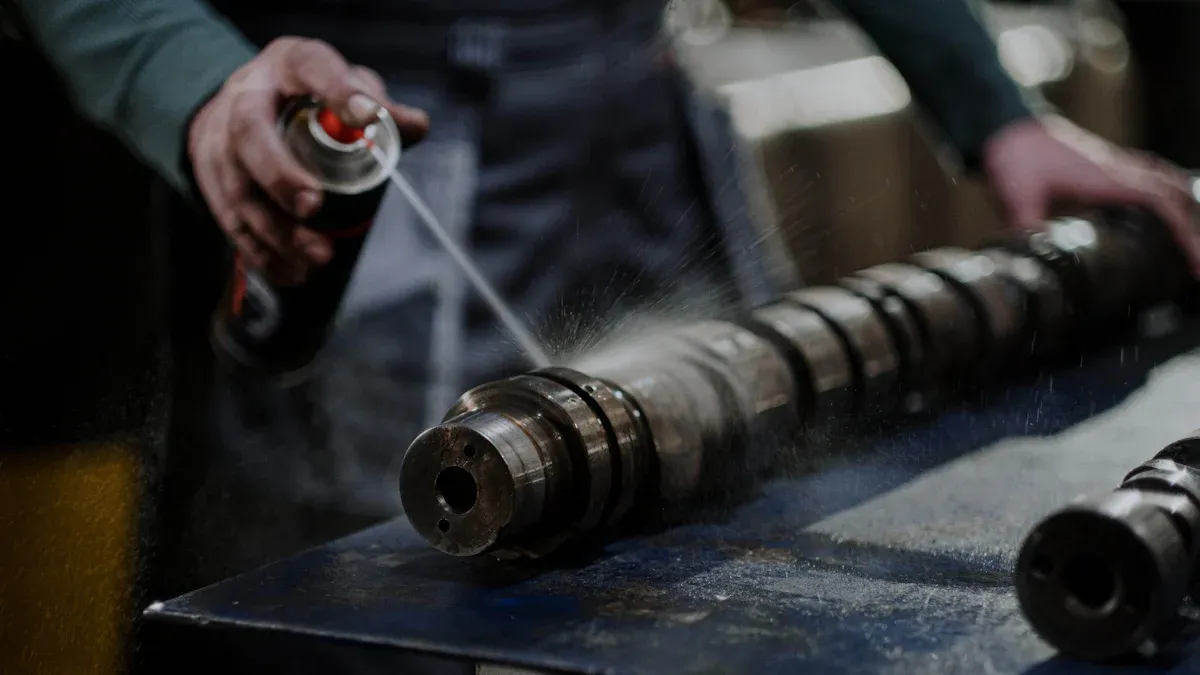
Cleaning and Prepping the Car’s Surface
A clean surface is crucial for a flawless vinyl application. Start by washing your car thoroughly with a basic car wash (avoid waxes or protectants). Pay extra attention to shiny wheels, as they can splatter residue onto the body.
Before you begin wrapping, clean your workspace to reduce dust. Remove any hardware like molding or side lights, and clean those separately. Use a microfiber towel with overlapping strokes to wipe down the car, including door edges and under the hood. For tight spots, wrap a squeegee in a towel.
If you want to go the extra mile, use a clay bar or scratch-less sponge to remove any stubborn grime. Finally, do the “squeaky finger” test—run your finger across the surface. If it squeaks, you’re ready to wrap!
Measurements and Cut
Measuring the Car’s Panels Accurately
Before you start cutting the vinyl, you need to measure your car’s panels carefully. Grab a measuring tape and note the dimensions of each section you plan to wrap. Focus on areas like the hood, doors, roof, and bumpers. Don’t forget smaller sections like mirrors or trim pieces.
When measuring, add an extra 3-4 inches to each side. This gives you enough material to work with when tucking edges or making adjustments. Write down your measurements and double-check them. Accuracy here saves you from wasting vinyl later.
Pro Tip: Use masking tape to mark the edges of each panel. This helps you visualize the sections and ensures you don’t miss any spots.
Cutting the Vinyl to Fit
Once you’ve measured everything, it’s time to cut the vinyl. Lay the vinyl roll on a clean, flat surface. Use your measurements as a guide and mark the dimensions on the vinyl with a pencil or chalk. A sharp utility knife works best for making precise cuts.
Cut each piece slightly larger than the panel size. This extra material will help you handle the vinyl wrap more easily during application. If you’re working with a patterned vinyl, align the design before cutting to ensure it looks seamless on the car.
Tip: Always cut in a well-lit area. Good lighting helps you see the markings clearly and avoid mistakes.
Avoiding Material Waste During Cutting
Vinyl can be expensive, so minimizing waste is important. Plan your cuts strategically to make the most of your material. Arrange the pieces on the vinyl roll like a puzzle to reduce leftover scraps.
Save any larger offcuts. These can come in handy for smaller sections like door handles or mirrors. If you’re new to custom car wraps, practice cutting on a scrap piece first. This helps you get comfortable with the process and reduces the chance of errors.
By taking your time and planning ahead, you’ll save money and ensure you have enough vinyl to complete your project.
Application Process
Starting with Large Panels
When you begin wrapping your car, always start with the larger, flatter panels like the hood or roof. These areas are easier to work with and help you get comfortable with the process. Lay the wrap on the panel and align it carefully before making any adjustments. Use masking tape to hold it in place temporarily if needed.
For better control, create a hinge by taping the vinyl along the middle of the panel. This allows you to work on one section at a time while keeping the other half secure. A heat gun can make the vinyl more pliable, helping it conform to the car’s contours without creasing.
Pro Tip: Double check and peel the backing slowly to avoid misalignment. This ensures a smooth start and prevents unnecessary rework.
Peeling and Positioning the Vinyl Wrap
Positioning the vinyl wrap accurately is key to achieving a professional look. Start by peeling back a small section of the backing paper, keeping the vinyl at a 45-degree angle. Align the wrap with the edges of the panel and press it lightly into place.
Here’s a quick guide to help you position the vinyl effectively:
| Technique | Description |
|---|---|
| Align the Vinyl | Position the vinyl on the panel, ensuring it is aligned correctly. Use masking tape to hold it in place if needed. |
| Create a Hinge | For larger panels, create a hinge by taping the vinyl along the middle to work on one section at a time, ensuring better control and alignment. |
Work in sections to maintain control and avoid stretching the vinyl too much. Use a heat gun to soften the material, especially around curves or edges. This helps prevent air pockets and ensures the vinyl adheres smoothly.
Smoothing Out Air Bubbles and Wrinkles
Air bubbles and wrinkles can ruin the look of your custom car wraps, but they’re easy to fix with the right technique. Start by using a squeegee and heat to smooth out the vinyl. Begin at the center of the panel and work outward in straight strokes. This pushes the air toward the edges and eliminates bubbles.
If you encounter stubborn wrinkles, apply heat to the area and gently lift the vinyl. Reposition it and smooth it down again with the squeegee. High-quality vinyl is less likely to wrinkle or peel, so investing in good material pays off in the long run.
Tip: Remove blocking parts like mirrors or trim before wrapping. This makes it easier to lay the wrap evenly and achieve a seamless finish.
By following these steps, you’ll ensure your vinyl wrap looks flawless and professional. Take your time, and don’t rush the process.
Finishing Touches

Trimming Excess Vinyl for a Clean Finish
Once the vinyl is applied, trimming the excess is your next step to achieve a polished look. Use the right tools to make this process easier and more precise. A 45° blade works well for standard vinyl, while a 60° blade is better for thicker materials. A weeding tool can help lift corners and remove any leftover vinyl cleanly.
When trimming, hold the blade at a slight angle and follow the edges of the panel carefully. Take your time to avoid cutting too much or damaging the wrap. For tight spots, like around door handles or mirrors, use smaller tools for better control.
Tip: Always work in good lighting to see the edges clearly and ensure a clean finish.
Tucking Edges for a Seamless Look
To give your custom car wraps a professional appearance, you need to tuck the edges properly. This step ensures the vinyl stays secure and looks seamless. Use a squeegee or your fingers to press the vinyl into crevices, like door seams or under trim pieces.
For tricky areas, apply gentle heat to soften the vinyl. This makes it more pliable and easier to tuck into tight spaces. Be patient and work slowly to avoid tearing or overstretching the material. Once the edges are tucked, press them firmly to ensure they adhere well.
Pro Tip: Check all edges after tucking to make sure no sections are lifting. This will prevent peeling over time.
Using Heat to Set the Vinyl Wrap
The final step is to heat the wrap to lock it in place. When you apply the heat, the adhesive flows and bonds securely to the car’s surface. This step also stabilizes the vinyl in areas that were stretched or manipulated during application.
Use a heat gun for this process, and keep an IR thermometer handy to monitor the temperature. Move the heat gun in a sweeping motion to avoid overheating any one spot. Focus on edges and corners, as these areas are more prone to lifting.
Reminder: Don’t skip this step! Heating the wrap ensures it stays in place and prevents issues like bubbling or popping later.
By following these finishing touches, you’ll give your car a flawless, professional look that lasts.
Final Tips and Maintenance
Inspecting the Wrap for Imperfections
Once you’ve finished applying the vinyl, take a moment to inspect your work. This step ensures your wrap looks flawless and lasts longer. Here’s a checklist to guide you:
- Check beveled edges and sharp corners to confirm they’re properly wrapped.
- Look for tight adhesion across the surface to avoid looseness or wrinkles.
- Inspect intricate areas for any missed spots or oversights.
- Examine the surface for trapped debris or dust that could affect the appearance.
- Apply gentle pressure to test the wrap’s elasticity and durability.
Tip: Use natural light to spot imperfections more easily. It’s the best way to catch small details you might miss indoors.
Cleaning and Caring for Custom Car Wraps
Keeping your vinyl wrap clean is essential for maintaining its vibrant look. Follow these safe cleaning methods:
- Use mild, pH-neutral soap mixed with water to wash the surface.
- Scrub gently with a microfiber towel or soft sponge to avoid scratches.
- Rinse thoroughly with clean water and dry with a microfiber towel to prevent streaks.
- Spot-clean tough stains like bird droppings or tree sap as soon as possible.
- Avoid automatic car washes with brushes, as they can cause peeling or scratches.
Reminder: Stick to touchless car washes if you’re short on time. They’re much gentler on your wrap.
Extending the Life of Your Vinyl Wrap
To make your vinyl wrap last, a little extra care goes a long way. Here are some tips:
- Clean regularly with mild soap and water to maintain its shine.
- Dry the surface with soft towels to avoid water spots.
- Park in shaded areas to reduce UV exposure and prevent fading.
- Remove stains promptly to avoid permanent damage.
- Inspect the wrap often to catch minor issues before they worsen.
- Avoid automatic car washes with brushes to prevent edge lifting.
- Seal the edges to keep them secure and prevent peeling.
- Consider applying a ceramic coating for added protection against UV rays and pollutants.
Pro Tip: When you apply the heat during the initial installation, it strengthens the adhesive bond. But reapplying heat occasionally can help fix minor lifting issues over time.
By following these tips, you’ll keep your vinyl looking fresh and vibrant for years to come. A little maintenance now saves you from costly repairs later.
Wrapping your car with custom vinyl is a fun and rewarding DIY project. It lets you transform your vehicle’s look while saving money. To succeed, focus on preparation and attention to detail. Use high-quality materials and tools like squeegees and heat guns. Avoid common mistakes, such as skipping cleaning or miscalculating vinyl. With patience and practice, you’ll achieve a professional wrap that turns heads.
Tip: Start with simple designs and flat surfaces if you’re new to wrapping. This helps you build confidence before tackling complex shapes.


0 Comments