

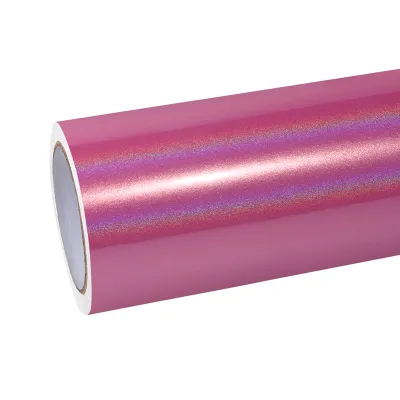
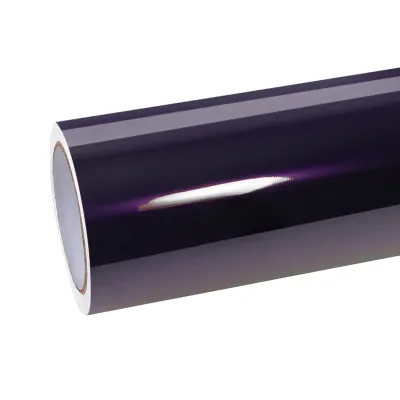
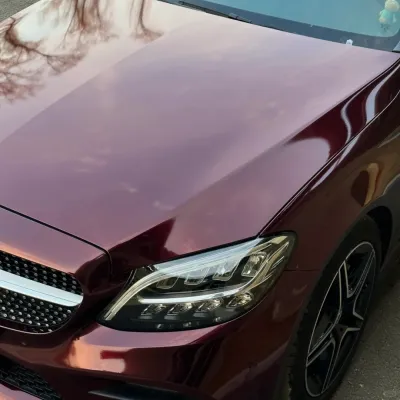
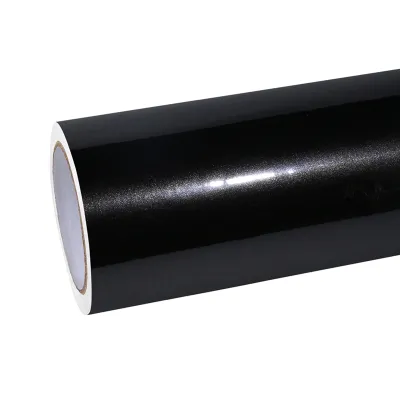
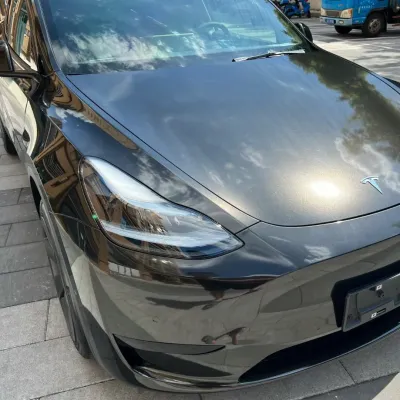
Removing a car wrap, such as a pink car wrap or a midnight purple wrap, might seem tricky, but it doesn’t have to be. With the right tools and a bit of patience, you can safely take off vinyl wraps without damaging your car’s paint. Whether you’re dealing with custom car wraps or specific colors like pink or midnight purple, careful handling is key to ensuring a smooth removal process. Curious about washing your car after removing the wrap? Don’t worry—custom car wraps are built to withstand proper cleaning methods.
Tools and Materials for Removing Vinyl Wrap
Important tools for how to remove car wrap
Having the right tools is very important. They help you remove a car wrap without harming your car. Here’s what you’ll need:
- Heat Gun or Hairdryer: Use this to warm the vinyl wrap. It softens the wrap and loosens the glue. If you don’t have a heat gun, a strong hairdryer works too.
- Plastic Razor Blade or Scraper: These tools lift the edges of the wrap. They won’t scratch your car’s paint.
- Adhesive Remover: After peeling the wrap, use this to clean leftover glue.
- Microfiber Cloth: Gently wipe off glue with this cloth. It keeps your car’s surface safe.
These tools make removing wraps easier and protect your car.
Extra tools for custom car wraps
The basic tools are enough, but extra tools can help with custom car wraps:
- Squeegee: This tool helps lift tough edges of the wrap.
- Adhesive Remover Spray: A spray version makes cleaning glue faster and easier.
- Vinyl Graphic and Adhesive Remover: This product removes both the wrap and glue in one step.
These extras aren’t required but save time and effort.
Safety gear for wrap removal
Safety is very important when using heat or chemicals. Here’s what you need:
- Heat-Resistant Gloves: These protect your hands from burns when using heat tools.
- Safety Goggles: Wear these to keep your eyes safe from glue or debris.
- Well-Ventilated Workspace: Work in an open area to avoid breathing harmful fumes.
- Fire Extinguisher: Keep one nearby when using heat tools, just in case.
Using safety gear keeps you safe while removing vinyl wraps.
Getting Your Car and Workspace Ready
Cleaning the car before taking off a car wrap
Before removing the vinyl, clean your car well. Dirt can scratch the paint while peeling the wrap. A clean car also makes it easier to lift the wrap’s edges.
Wash your car with mild car soap and a soft sponge. Focus on spots where dirt hides, like wrap edges or small gaps. After washing, dry the car completely using a microfiber cloth. This step helps avoid damage and makes removal smoother.
Tip: Always clean first! It stops scratches and makes peeling easier.
Best weather for removing a car wrap
Weather affects how easy it is to take off vinyl wraps. Cold makes vinyl hard, and too much heat makes glue sticky.
The best weather? Pick a dry day with 70-80°F (21-27°C). Avoid rainy or humid days, as moisture can cause problems. If outside, work in shade to avoid uneven heating from sunlight.
Note: Good weather helps the vinyl come off cleanly without extra glue.
Setting up a safe place to remove vinyl wrap
Your workspace is as important as your tools. Indoors is best to avoid weather issues. If not possible, pick a covered spot away from rain and sun.
Keep the area clean and bright. Place tools like a heat gun, scraper, and glue remover nearby. A space with 70-80°F (21-27°C) is ideal for softening glue without making it too sticky.
Tip: A good workspace saves time and avoids mistakes.
Step-by-Step Guide to Remove a Vehicle Wrap
Lifting the edges of the wrap
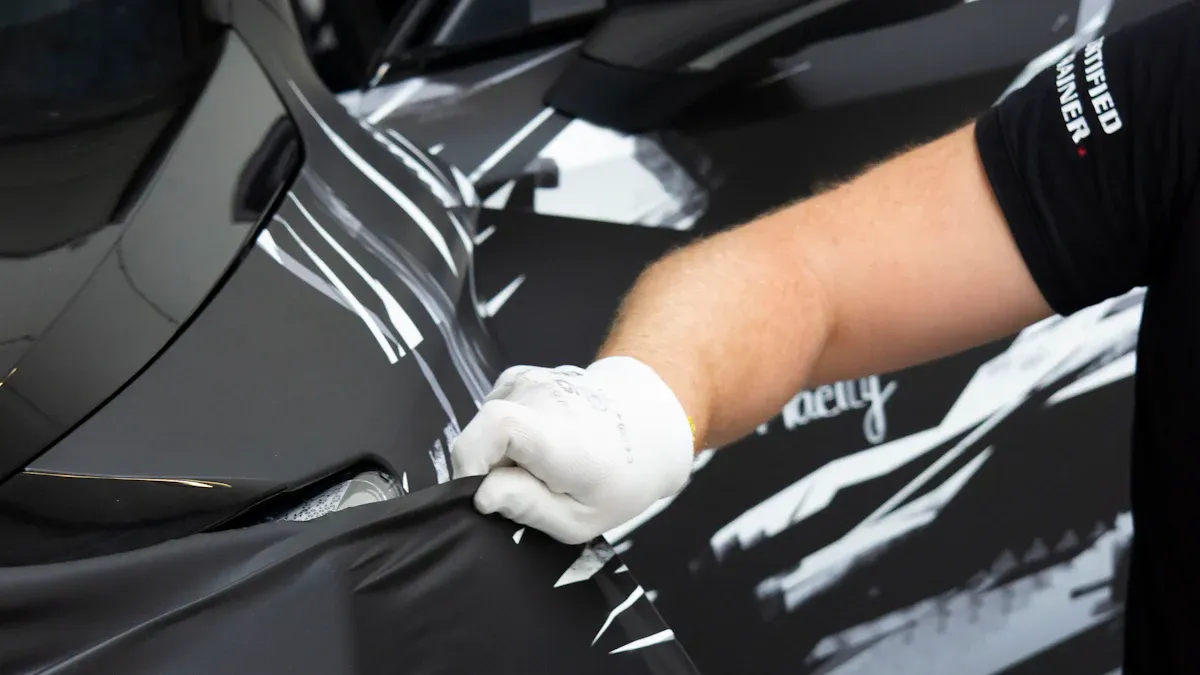
Start by gently lifting the edges of the vinyl wrap. This step is crucial for a smooth removal procedure. Use a plastic scraper or razor blade to avoid scratching your car’s paint. Begin at one corner of the wrap and work your way around.
Tip: Warm up the edges with a heat gun before lifting. This softens the adhesive and makes it easier to peel.
If the edges are stubborn, apply more heat and try again. Be patient—rushing can lead to tears or damage.
Using heat to remove a car wrap
Heat is your best friend during car wrap removal. A heat gun or hairdryer works well for this step. Keep the tool at least six inches away from the surface to avoid overheating. Move it back and forth evenly to soften the adhesive.
| Method | Description | Outcome |
|---|---|---|
| Heat Application | Apply heat evenly using a heat gun or hairdryer | Prevents damage to the vehicle’s surface |
If the vinyl becomes stiff while peeling, reapply heat to loosen it. Proper heat application ensures a methodical car wrap removal process without damaging the paint.
Peeling off the wrap carefully
Once the edges are lifted and the adhesive is softened, start peeling off the vinyl. Grip the corner you’ve lifted and pull slowly. Keep the vinyl at a 15°–20° angle to avoid tearing or leaving adhesive behind.
Note: Consistency is key. Maintain steady pressure and speed while peeling.
If you encounter resistance, pause and apply more heat. This helps loosen the adhesive further. After peeling off the vinyl, inspect the surface for leftover residue and clean it using an adhesive remover.
Dealing with Adhesive Residue
Products for removing adhesive from custom car wraps
After peeling the vinyl, sticky glue might remain. This is normal and easy to fix. Use an adhesive remover to clean these spots. Products like Rapid Remover work fast, breaking glue in 30–60 seconds. For small jobs, vinegar can also help.
For tougher glue, stronger commercial products work better. Always test on a hidden spot first to protect your car’s paint. Finish by cleaning with rubbing alcohol or soapy water for a spotless surface.
Tip: Use a microfiber cloth to wipe off glue and leave a smooth finish.
Techniques to avoid paint damage
To remove glue safely, use the right steps. Start by heating the glue with a heat gun or hairdryer. Then, scrape gently with a plastic tool to avoid scratches.
Follow these steps to protect your car:
- Start at an edge or corner to lift the glue.
- Peel at a 45-degree angle to avoid paint stress.
- Heat evenly to soften the glue.
- Pull slowly to prevent tearing or leftover glue.
Take your time. Rushing can scratch or damage delicate finishes like a pink or midnight purple wrap.
Inspecting the surface after removing a vehicle wrap
After removing the vinyl and glue, check your car’s surface. Look for missed spots, especially near edges or handles. Check for dust or debris that could affect the car’s look.
Run your hand over the surface to feel for rough areas. If needed, clean again with an adhesive remover. A careful check ensures your car is ready for polishing or a new wrap.
Note: A smooth surface looks better and helps the next wrap stick well.
Common Challenges and Solutions
Removing flaking or brittle wraps
Flaking or brittle wraps can be hard to remove. Older or cheap wraps often tear into small pieces. To fix this, use a heat gun or hairdryer. Move the heat tool around to avoid overheating one spot. Once the wrap softens, gently lift the edges with a plastic scraper.
For tough spots, spray adhesive remover on the area. Wait a minute for the glue to loosen, then scrape again. After removing the wrap, clean the car with rubbing alcohol or mild soap. Wipe it dry with a microfiber cloth. Always work in a shaded, dry place to avoid weather issues.
Tip: High-quality wraps, like custom car wraps, are easier to remove. They stretch better and don’t flake as much.
Managing excessive adhesive residue
Sticky glue left behind can be annoying but is fixable. Apply a solvent-based adhesive remover to the sticky spots. Let it sit for a few minutes to loosen the glue. Then, wipe it off with a microfiber cloth. For stubborn glue, gently scrape while using the remover.
If you have a pink car wrap or midnight purple wrap, test the remover on a hidden spot first. This ensures it won’t harm the paint. Take your time—rushing can cause scratches or uneven cleaning.
Avoiding scratches on pink car wrap or midnight purple wrap
Scratches are a big worry when removing wraps, especially bright ones like pink or midnight purple wraps. To prevent scratches, always use plastic tools, not metal ones. Heat the wrap evenly to soften the glue, making it easier to peel.
Pull the wrap slowly and at a low angle to avoid paint damage. If it resists, reapply heat or adhesive remover before continuing. A slow, careful process keeps your car’s surface smooth and ready for its next custom car wrap.
Final Tips for Post-Removal Care
Inspecting the car after removing vinyl wrap
Once you’ve removed the wrap, take a close look at your car’s surface. This step helps you spot any leftover adhesive, scratches, or imperfections. Run your hand over the surface to feel for rough patches. Pay extra attention to tricky areas like door handles, edges, and crevices.
If you notice any adhesive residue, clean it up right away using a microfiber cloth and an adhesive remover. For scratches or minor paint damage, consider using a touch-up paint kit. A thorough inspection ensures your car looks great and is ready for the next steps.
Tip: Good lighting makes it easier to spot imperfections. Work in a bright area or use a flashlight for detailed checks.
Cleaning and polishing the surface
After inspecting, it’s time to clean and polish your car. This step restores its shine and prepares it for a new wrap or a fresh look. Start by washing the car with mild soap and water. Dry it completely with a microfiber cloth to avoid water spots.
For the best results, follow these expert-recommended steps:
- Choose Wrap-Specific Products: Use protective sealants or detailer sprays designed for vinyl wraps.
- Application: Apply the product evenly, following the manufacturer’s instructions.
- Routine Cleaning: Wash your car every two to four weeks to keep it looking fresh.
- Gentle Cleaning: Stick to hand washing instead of automatic car washes.
- Regular Inspections: Check for dirt or damage and address issues quickly.
Polishing your car not only enhances its appearance but also protects the surface from future wear.
Preparing the car for a new custom car wrap
If you’re planning to apply a new wrap, proper preparation is key. A well-prepped car ensures the wrap sticks better and lasts longer. Start by washing the car thoroughly to remove dirt, wax, and grease. Use a clay bar to get rid of embedded contaminants for a smooth finish.
Next, inspect the surface for scratches or imperfections. Fix any flaws, as they can show through the new wrap. Remove trim, badges, or other obstacles that might interfere with the application. Finally, make sure you’re working in a clean, temperature-controlled space.
- A properly prepped car can make your wrap last 50% longer.
- With good preparation, wraps can stay in great condition for 3 to 5 years.
Taking these steps ensures your new custom wrap looks flawless and stays durable.
Removing a car wrap the right way protects your car’s paint and ensures a smooth finish. Follow these steps for the best results:
- Heat the wrap to loosen the adhesive.
- Peel carefully to avoid scratches.
- Use proper tools for a quicker process.
| Benefit of Proper Removal | Description |
|---|---|
| No Damage to Paint | The original paint stays intact. |
| Protection of Paint | Wraps shield paint from environmental harm. |
Take your time, and don’t hesitate to seek professional help if needed.


0 Comments