


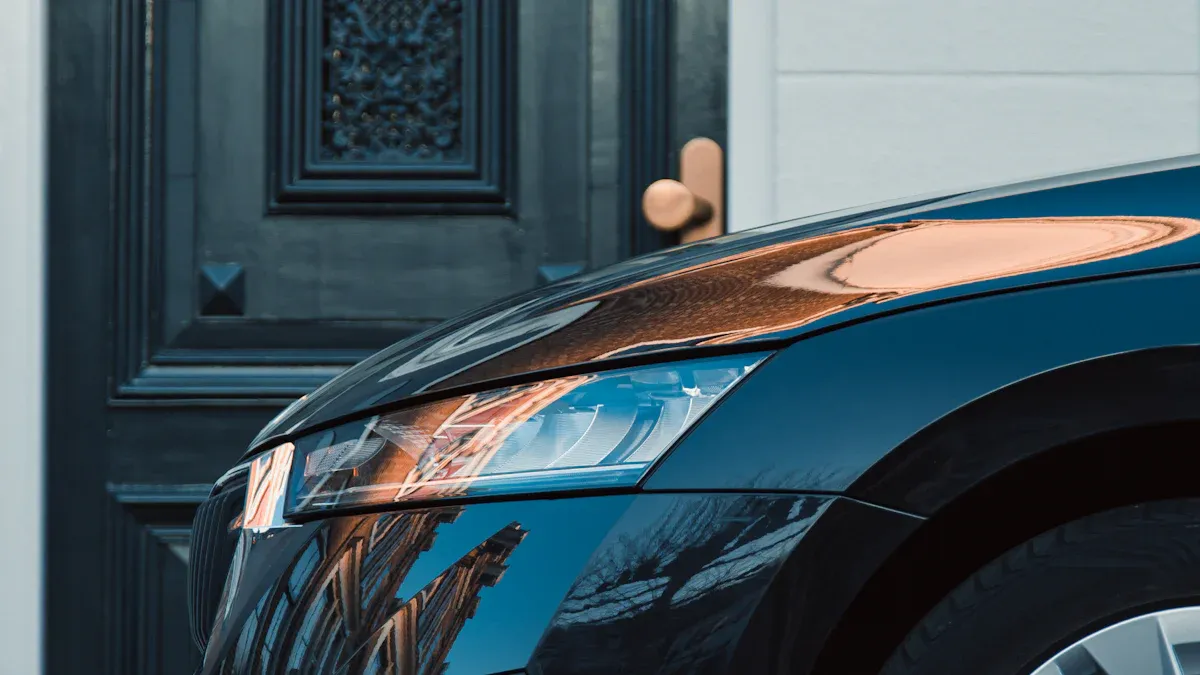
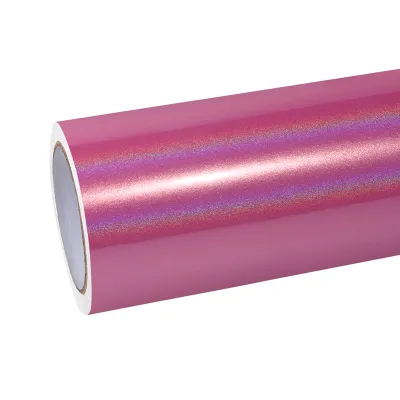
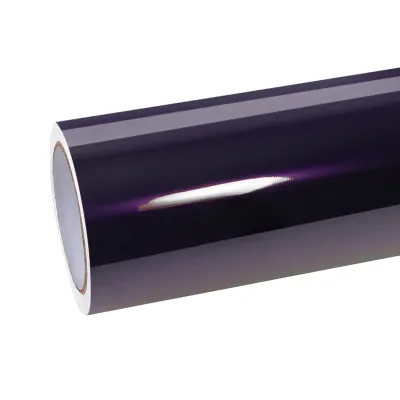
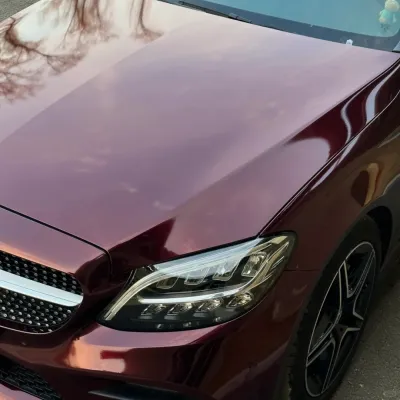
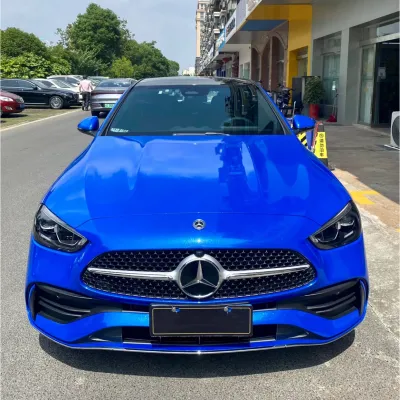
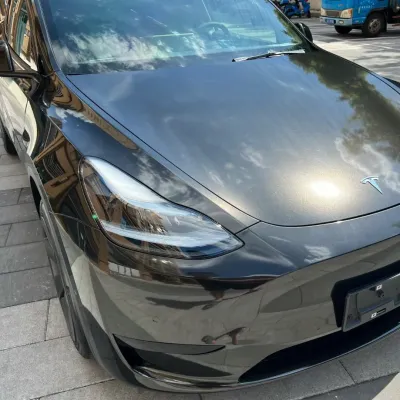
Wrapping your car is not just a stylish upgrade—it’s a practical investment. A vinyl wrap shields your vehicle from road debris, small rocks, and harmful contaminants like bird droppings or tree sap, all while preserving the original paint and saving you from expensive repairs. Custom car wraps offer a unique way to showcase your personality, with options like a bold pink car wrap or a sleek midnight purple wrap to make your vehicle stand out. The best part? With a detailed step-by-step process and some patience, you can achieve professional-quality results from the comfort of your own home.
Preparation: Laying the Groundwork
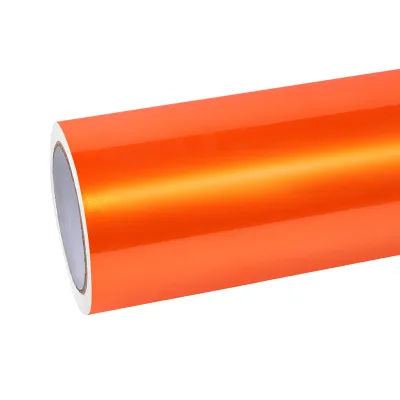
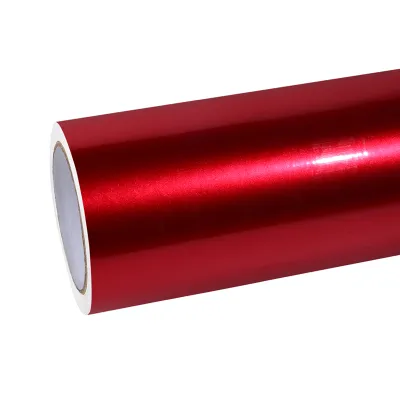
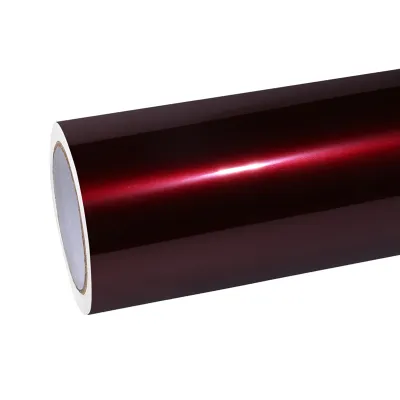
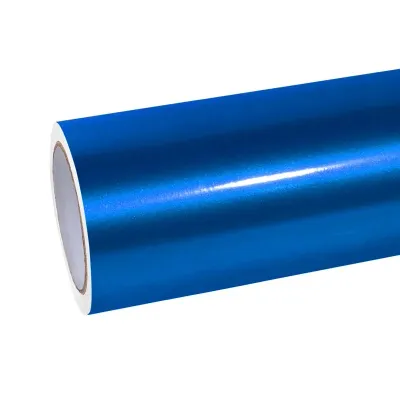
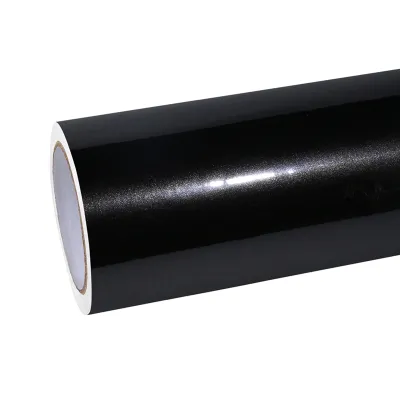
Choosing the Right Vinyl Car Wrap
When it comes to selecting a vinyl car wrap, the options can feel endless. To make the right choice, you’ll want to consider both the type of vinyl and the look you’re going for. Here are some popular types of vinyl wraps:
- Cast Vinyl – Known for its durability and flexibility, this premium-grade option is perfect for wrapping complex curves.
- Calendered Vinyl – A more budget-friendly choice, ideal for flat or simple surfaces.
- Specialty Films – These include unique finishes like chrome, carbon fiber, and reflective wraps.
You’ll also find a variety of finishes to match your style. Whether you prefer a matte vinyl wrap for a subtle look or a glossy finish for that high-shine effect, there’s something for everyone. Specialty options like metallic or color-shifting wraps can add a bold touch to your custom car wraps. Don’t forget to think about durability. Cast vinyl is great for long-term use, while calendered vinyl works better for short-term projects.
Cleaning and Prepping the Car
A clean surface is the foundation of a successful wrap. Dirt, grease, or wax can prevent proper adhesion, leading to peeling or bubbles. Here’s how to get your car ready:
- Wash the car thoroughly using car wash soap and microfiber towels.
- Apply a degreasing agent to remove any grease or wax.
- Use an alcohol-based solution to eliminate old sealants and ensure a clean surface.
- Inspect the surface for imperfections like scratches or dents and address them.
- Perform a final wipe-down with an alcohol-based cleaner to ensure a squeaky-clean finish.
For hard-to-reach areas, use a squeegee wrapped in a towel. Don’t skip cleaning under the hood or around wheel wells, as these spots often hide dirt.
Essential Tools for Wrapping
Having the right tools makes all the difference when preparing to wrap your car. Here are the must-haves:
- Squeegee: Smooths the vinyl and removes air bubbles.
- Heat Gun: Helps the vinyl conform to curves and edges.
- Precision Knife: Ensures clean cuts for a professional finish.
Optional tools can also enhance your results. Wrap gloves prevent fingerprints on the vinyl, while magnets hold the wrap in place during application. Adequate lighting is another game-changer, helping you spot imperfections as you work.
Pro Tip: Invest in high-quality tools. They’ll save you time and frustration, ensuring your vinyl wrap looks flawless.
Measuring and Cutting: Precision Matters
Measuring the Car’s Surface
Accurate measurements are the backbone of a successful vinyl wrap. If you don’t measure correctly, you risk wasting material or running out mid-project. Here’s how you can measure your car’s surface like a pro:
- Measure each part of the car separately. This ensures precision and reduces errors.
- Add an extra three inches to all sides of each panel. This gives you enough material to work with, especially for curves and edges.
- Record every measurement carefully. A small mistake here can lead to big problems later.
- Always buy more vinyl than you think you’ll need. It’s better to have extra than to fall short.
When measuring, start with the hood. Add three inches to all sides for bleed. For the sides, measure from the front fender to the back, and don’t forget to add six inches to account for curves. If you’re wrapping a sedan, multiply the length by four for full coverage. For trucks with bumpers, multiply by 3.75.
Pro Tip: Don’t forget to measure tricky areas like bumpers and fenders. These spots often require extra material due to their curves and edges.
Cutting the Vinyl Wrap
Once you’ve measured, it’s time to cut the vinyl. Clean and precise cuts make all the difference in achieving a professional finish. Follow these techniques for the best results:
- Cut on the front side of the vinyl for better visibility. Be cautious, though, as this can damage the top layer.
- For a safer option, cut from the back. This reduces surface damage but may make it harder to see what you’re doing on curves.
- Use a 30-degree blade for detailed work. This angle ensures precision and requires minimal force.
- Maintain a consistent angle and smooth movement while cutting. This helps you achieve clean, straight edges.
Safety should always come first when handling cutting tools. Wear cut-resistant gloves to protect your hands and safety glasses to shield your eyes from debris. Dispose of used blades in a designated container to avoid accidents.
Note: A steady hand and the right tools are your best allies for clean cuts. Take your time, and don’t rush this step.
Application: How to Vinyl Wrap a Car Like a Pro
Starting the Application Process
Positioning the vinyl wrap on the car
Before you begin, it’s essential to position the vinyl wrap correctly. A little planning goes a long way in ensuring a smooth installation. Follow these steps to lay the wrap effectively:
- Make a Good Plan: Start by sourcing high-quality vinyl. This ensures durability and makes the wrapping process easier.
- Measure the Dimensions: Double-check your measurements for each section of the car. Add extra material for tucking around edges.
- Clean and Prepare the Vehicle: Ensure the surface is spotless. Dirt or debris can ruin the adhesion and lead to bubbles.
Once you’ve prepped the car, align the vinyl wrap with the panel you’re working on. Use magnets or masking tape to hold it in place temporarily. This helps you adjust the position before you apply the vinyl.
Tackling large, flat surfaces first
Start with the easiest areas, like the hood or doors. These flat surfaces are perfect for building your confidence. Lay the wrap gently over the panel and smooth it out with your hands. Avoid stretching the vinyl at this stage. Use a squeegee to press the vinyl onto the surface, working from the center outward. This method pushes out air bubbles and ensures a firm bond.
Pro Tip: If you’re wrapping a hood, work in sections. This prevents wrinkles and keeps the vinyl aligned.
Removing Air Bubbles and Wrinkles
Using a squeegee for smooth application
A squeegee is your best friend during the vinyl application. Use it to smooth the wrap as you go. Start in the middle of the panel and push outward in straight lines. Apply firm, even pressure to avoid leaving air pockets. For best results, hold the squeegee at a 45-degree angle.
Tips for handling stubborn air bubbles
Sometimes, air bubbles can be stubborn. Don’t panic! Use these tricks to tackle them:
- For small bubbles, poke a tiny hole with a precision knife. Then, press the air out gently with your squeegee.
- For larger bubbles, lift the vinyl slightly and reapply it while smoothing with the squeegee.
- Use a heat gun to soften the vinyl. This makes it easier to stretch and smooth over problem areas.
Note: Always work slowly. Rushing can create more bubbles or wrinkles.
Wrapping Around Curves and Edges
Using heat to stretch and conform the vinyl
Curves and edges can be tricky, but heat makes the job easier. Use a heat gun to warm the vinyl slightly. This softens it, allowing you to stretch and mold it to the car’s contours. Be careful not to overheat, as this can damage the material.
Avoiding overstretching or tearing
Overstretching the vinyl can lead to several issues:
- Distortion of the design, especially on complex curves.
- Cracking or tearing, which ruins the wrap and adds to your costs.
- Premature lifting, particularly in high-stress areas like door handles or mirrors.
To avoid these problems, stretch the vinyl gently and evenly. If you feel resistance, stop and reheat the material. This keeps the vinyl flexible and prevents damage.
Pro Tip: Practice on smaller areas, like mirrors or bumpers, before tackling larger sections. This helps you master the technique.
Finishing Touches: Perfecting the Look
Trimming and Tucking the Vinyl
How to trim excess material cleanly
Trimming the excess vinyl is a crucial step to achieve a professional finish. Clean cuts not only enhance the look but also ensure the wrap stays secure over time. Here are some tricks to help you trim like a pro:
- Use a fine breakaway blade, such as the NT cutter red dot with a 30-degree blade, for precise cuts.
- Always work with a fresh blade. A dull blade can tear the vinyl and ruin the edges.
- Keep the blade parallel to the material while cutting. This prevents digging into the surface and damaging the proper edges and corners.
Take your time during this step. Rushing can lead to uneven cuts, which might compromise the final look of your car.
Tucking edges for a seamless finish
Tucking the vinyl around edges and corners is what gives your wrap that polished, seamless appearance. After trimming, gently lift the edges and tuck them under the panels using a squeegee or your fingers. Apply light heat to soften the vinyl, making it easier to mold into place. This technique ensures the wrap adheres securely and prevents peeling over time.
Pro Tip: Focus on proper edges and corners, as these areas are prone to lifting if not tucked correctly.
Sealing and Post-Heating
Importance of post-heating for durability
Post-heating is a game-changer when it comes to the durability of your vinyl wrap. By applying heat after installation, you enhance the adhesive bond between the vinyl and the car’s surface. This reduces tension in the material, preventing lifting, peeling, or premature wear caused by environmental factors like heat, cold, or moisture. Skipping this step could shorten the lifespan of your wrap, so don’t overlook it!
Techniques for sealing edges to prevent peeling
Sealing the edges properly is essential to keep your vinyl wrap looking flawless for years. Here are some effective techniques:
- Trim any excess vinyl after application, then reapply heat to secure the edges.
- Seal all edges thoroughly to protect against environmental elements and extend the wrap’s lifespan.
- Heat the film and press it into place at a 90-degree angle for a snug fit.
- Use a squeegee to guide the blade during trimming, leaving a slight excess for better sealing.
These steps ensure your wrap stays intact, even in challenging conditions. With a little patience and attention to detail, you’ll achieve a professional finish that lasts.
Note: Always double-check your work after sealing to catch any missed spots.
Inspection and Maintenance: Ensuring Longevity
Inspecting the Finished Wrap
How to spot and fix imperfections like bubbles or wrinkles
Once you’ve completed the wrapping process, take a moment to inspect your work. Look closely for air bubbles, wrinkles, or any areas where the vinyl isn’t adhering properly. These imperfections can affect the durability and appearance of your vinyl car wrap.
To fix small air bubbles, use a precision knife to poke a tiny hole and gently press the air out with a squeegee. For larger bubbles or wrinkles, lift the vinyl slightly, reapply it, and smooth it out with heat and a squeegee. Pay extra attention to edges and corners, as these areas are prone to lifting if not sealed correctly.
Pro Tip: Inspect your wrap under bright lighting. This helps you spot even the smallest flaws and ensures a flawless finish.
Final inspection tips for a flawless finish
Before calling it a day, give your car a final once-over. Check all panels, edges, and curves to ensure the wrap is smooth and secure. Run your fingers along the edges to confirm they’re tucked and sealed properly. If you notice any loose spots, apply light heat and press them down firmly. A thorough inspection now saves you from potential peeling or damage later.
Caring for Your Vinyl Car Wrap
Cleaning and maintenance tips to extend the wrap’s life
Proper care is essential to keep your vinyl car wrap looking fresh and vibrant. Follow these simple steps to extend its lifespan:
- Wash your car regularly using mild soap and water. Avoid harsh chemicals that can damage the vinyl.
- Dry the surface with a soft microfiber towel to prevent water spots.
- Park in shaded areas or use UV protectants to shield the wrap from sun damage.
- Remove stains or spills immediately with gentle cleaners.
- Inspect the wrap periodically for signs of wear and tear.
Note: Avoid automatic car washes with abrasive brushes. They can scratch or peel the wrap.
How to avoid damage from harsh conditions or chemicals
Protecting your wrap from harsh conditions is just as important as regular cleaning. Keep your car in a garage or sheltered area to minimize exposure to extreme weather. Avoid driving on rough terrain, as debris can chip or tear the vinyl. When cleaning, use soft tools and rinse thoroughly to remove dirt and mud.
If you’re wondering how to remove vinyl safely in the future, avoid using sharp tools or harsh chemicals. Instead, apply heat to loosen the adhesive and peel it off gently. This step-by-step process prevents damage to your car’s paint and ensures a smooth removal.
Trick: Use a heat gun or hairdryer to soften the vinyl before removal. It makes the process much easier and reduces the risk of tearing.
Wrapping your car doesn’t have to feel overwhelming. By following these steps, you’ll achieve a professional finish:
- Make a solid plan and measure your car’s dimensions.
- Clean the surface thoroughly and cut the vinyl to size.
- Apply the vinyl, remove bubbles, and tuck the edges.
- Use a heat gun to secure the wrap for durability.
With the right tools—like a squeegee, heat gun, and precision knife—you can transform your vehicle into a masterpiece. Whether you’re going for a bold pink car wrap or a sleek midnight purple wrap, the results are worth it. Take the first step today and enjoy the benefits of a custom car wrap!


0 Comments